Here we are running a bed floor for a 1951 Studebaker on our Pullmax. We…

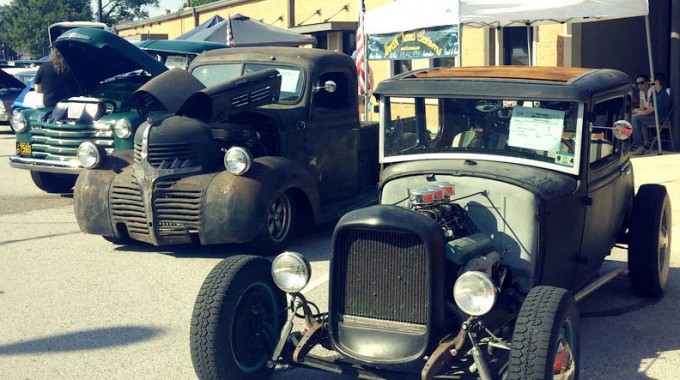
UPDATE #2: NTC ’40 Ford Pickup
Thought we’d post another update on our shop project, a 1940 Ford Pickup, as we’ve made some progress since the last update. If you missed the first post, make sure to check it out here so you can see some “before” pics, and check out this previous update to see some of the metal fab and patch work.
With lots of customer cars keeping us busy, we had to put this project on hold for a while but finally worked out some time to dust things off and go at it again. After contemplating direction for a bit, we determined that we’d be able get it on the road a lot more quickly by nixing the flathead and going with a different setup. We had an old 327 on hand that came out of a truck and was an obvious choice to get this truck rolling.
First was to get the frame on the rack and level it out. We didn’t set it at ride height as we were just checking for any racking in the frame and to get the rear installed:

We are using 49-54 Chevy truck front springs for a rear parallel system. To mock up, we centered and clamped the rear hangers while waiting for the new bushing bolts to arrive; at that time we will remove a few leaves and adjust the wheels to the fenders before drilling the permanent location holes:

The spring pads on the axle may have to be relocated inboard about 1/2″ – 1/4″ on each side but it’s almost a perfect fit:

Up front we had removed about 4 leaves and used a 36 4″ dropped axle, but wanting more, we reversed the eyes using the shop press method. It’s a really simple technique that gives you about another inch:

We placed the cab back on the frame to get an idea of where things stood. You can also see in this pic that we added 2″ blocks:

We jacked the front end up to simulate being under load and decided to go ahead and raise the front cross member up 2″:


Upon inspection, the frame was about one inch higher on the driver’s side. The bumper probably got tapped at some time in its life as all the twist was just in the front frame horn area. Using a come-along and torch, we massaged the twist out and made everything square:

Next we cut one side off a piece of 3/16″ thick walled 2″ ID square pipe to use as the new spring pocket. We then measured an 1 1/2″ rise in the cross member which was cut out so that in order to push the square pipe into place. Once it was level side to side, we put in 5 to 6 degrees tilting back for the spring:

And welded it in:

Now that the top was taller, we wanted to bring the bottom up so that it would look stock when finished. Also the spring u-bolts were now as long as the cross member was tall. So we cut out the bottom lip and sectioned it up so that the cross member would stand at about 2 3/4″. The spring pack is 2″ tall with some leaves removed; if it seems that the truck will wind up too low, we can add back a leaf or two:


We then cut off the outer pieces and leveled across:

Resulting in:


Next, on to X-member and engine mock-up! Stay tuned for Update #3…and visit our 1940 Ford Pickup photo gallery to see all of the build pics for this project.
Related Posts
This Post Has 0 Comments