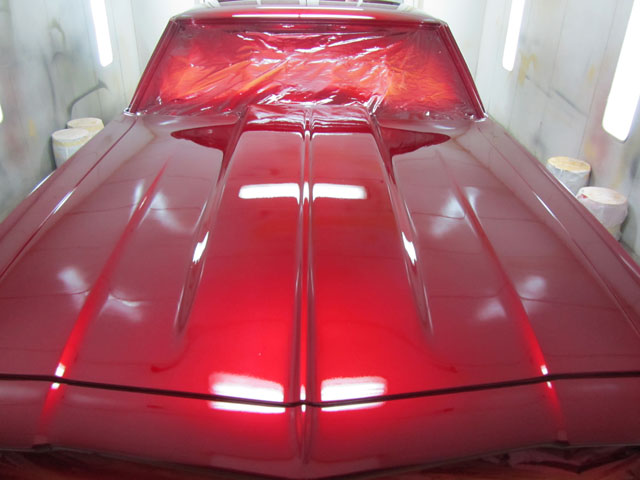
HOK Pagan Gold Candy
Laying down House of Kolor's Pagan Gold candy on a 1940 Ford pickup hood.
Laying down House of Kolor's Pagan Gold candy on a 1940 Ford pickup hood.
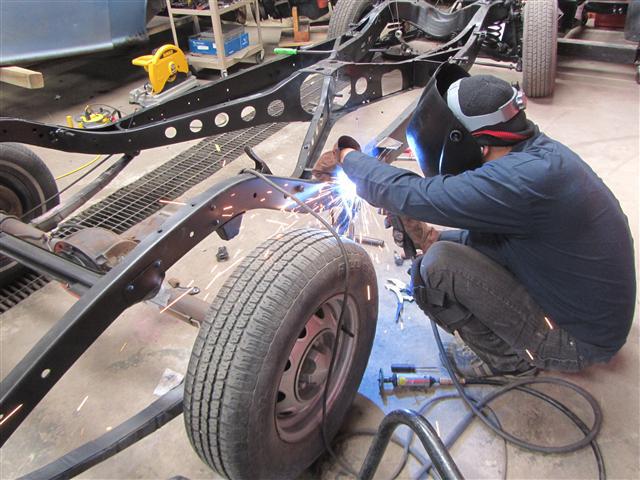
Here we put a 1957 LaFrance V12 fire truck engine into a 1931 Studebaker. We extended the frame by 10" to accommodate the engine length and will fabricate a one-off removable hood and louvered side panels.
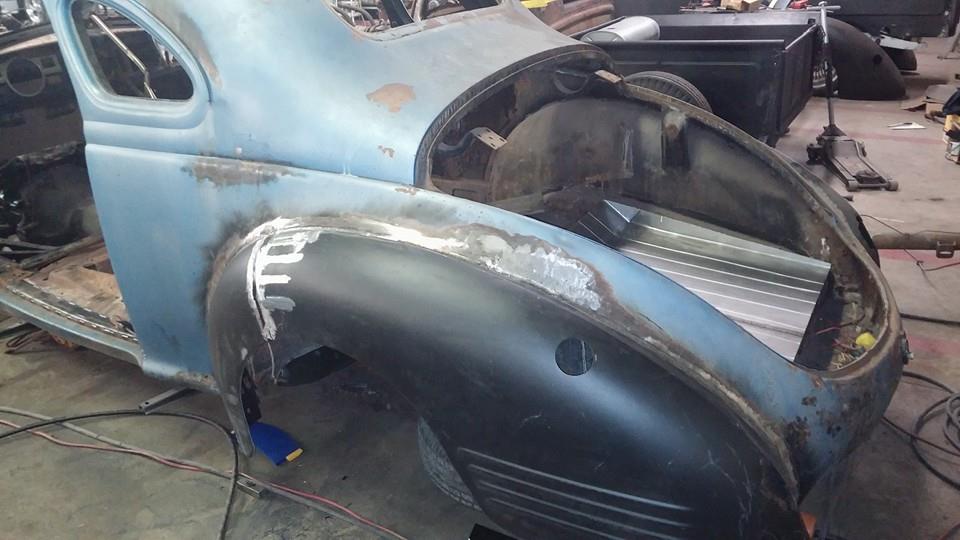
Thought we'd share some shots of the fabrication work going into this 1939 Dodge coupe lead sled build. We are making rockers, floor pans, trunk, and tool pocket. Also welded in the rear fenders which will be leaded in after blasting.
In building this '39 Dodge coupe, we are tearing it down now and plan to install a 318 engine, an a833 transmission, a Ford Explorer rear, front disks, and lower it just a touch. We'll be posting updates as it…

Thought we'd post another update on our shop project, a 1940 Ford Pickup, as we've made some progress since the last update. If you missed the first post, make sure to check it out here so you can see some…

Just a reminder that in addition to complete restoration services, we offer a wide range of mechanical services specifically for Hot Rods, Classics and Muscle Cars. Contact us for ongoing maintenance needs, tune-ups, repairs, component swaps, and more. Regular maintenance…
We had our work cut out for us to restore this 1969 Chevelle - or should we say, we cut it out ourselves. The back half was completely rotted and had to be scrapped, frame rails and all. After stripping…

Wanna take a break from work today? Love to watch something come together? Interested in technical details? We are excited to show our family of fans a behind-the-scenes look at laying down a complete candy paint job on a 1969…

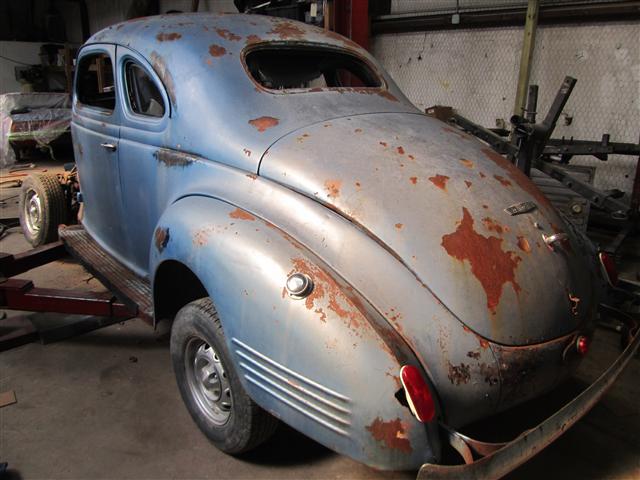
Marketed as the "smoothest car afloat," the 1947 Dodge D24 Custom boasted power, speed, low maintenance and a spacious interior. With those features in mind, we set out to transform this fatigued stone beige sedan into a sleek black powerhouse…